
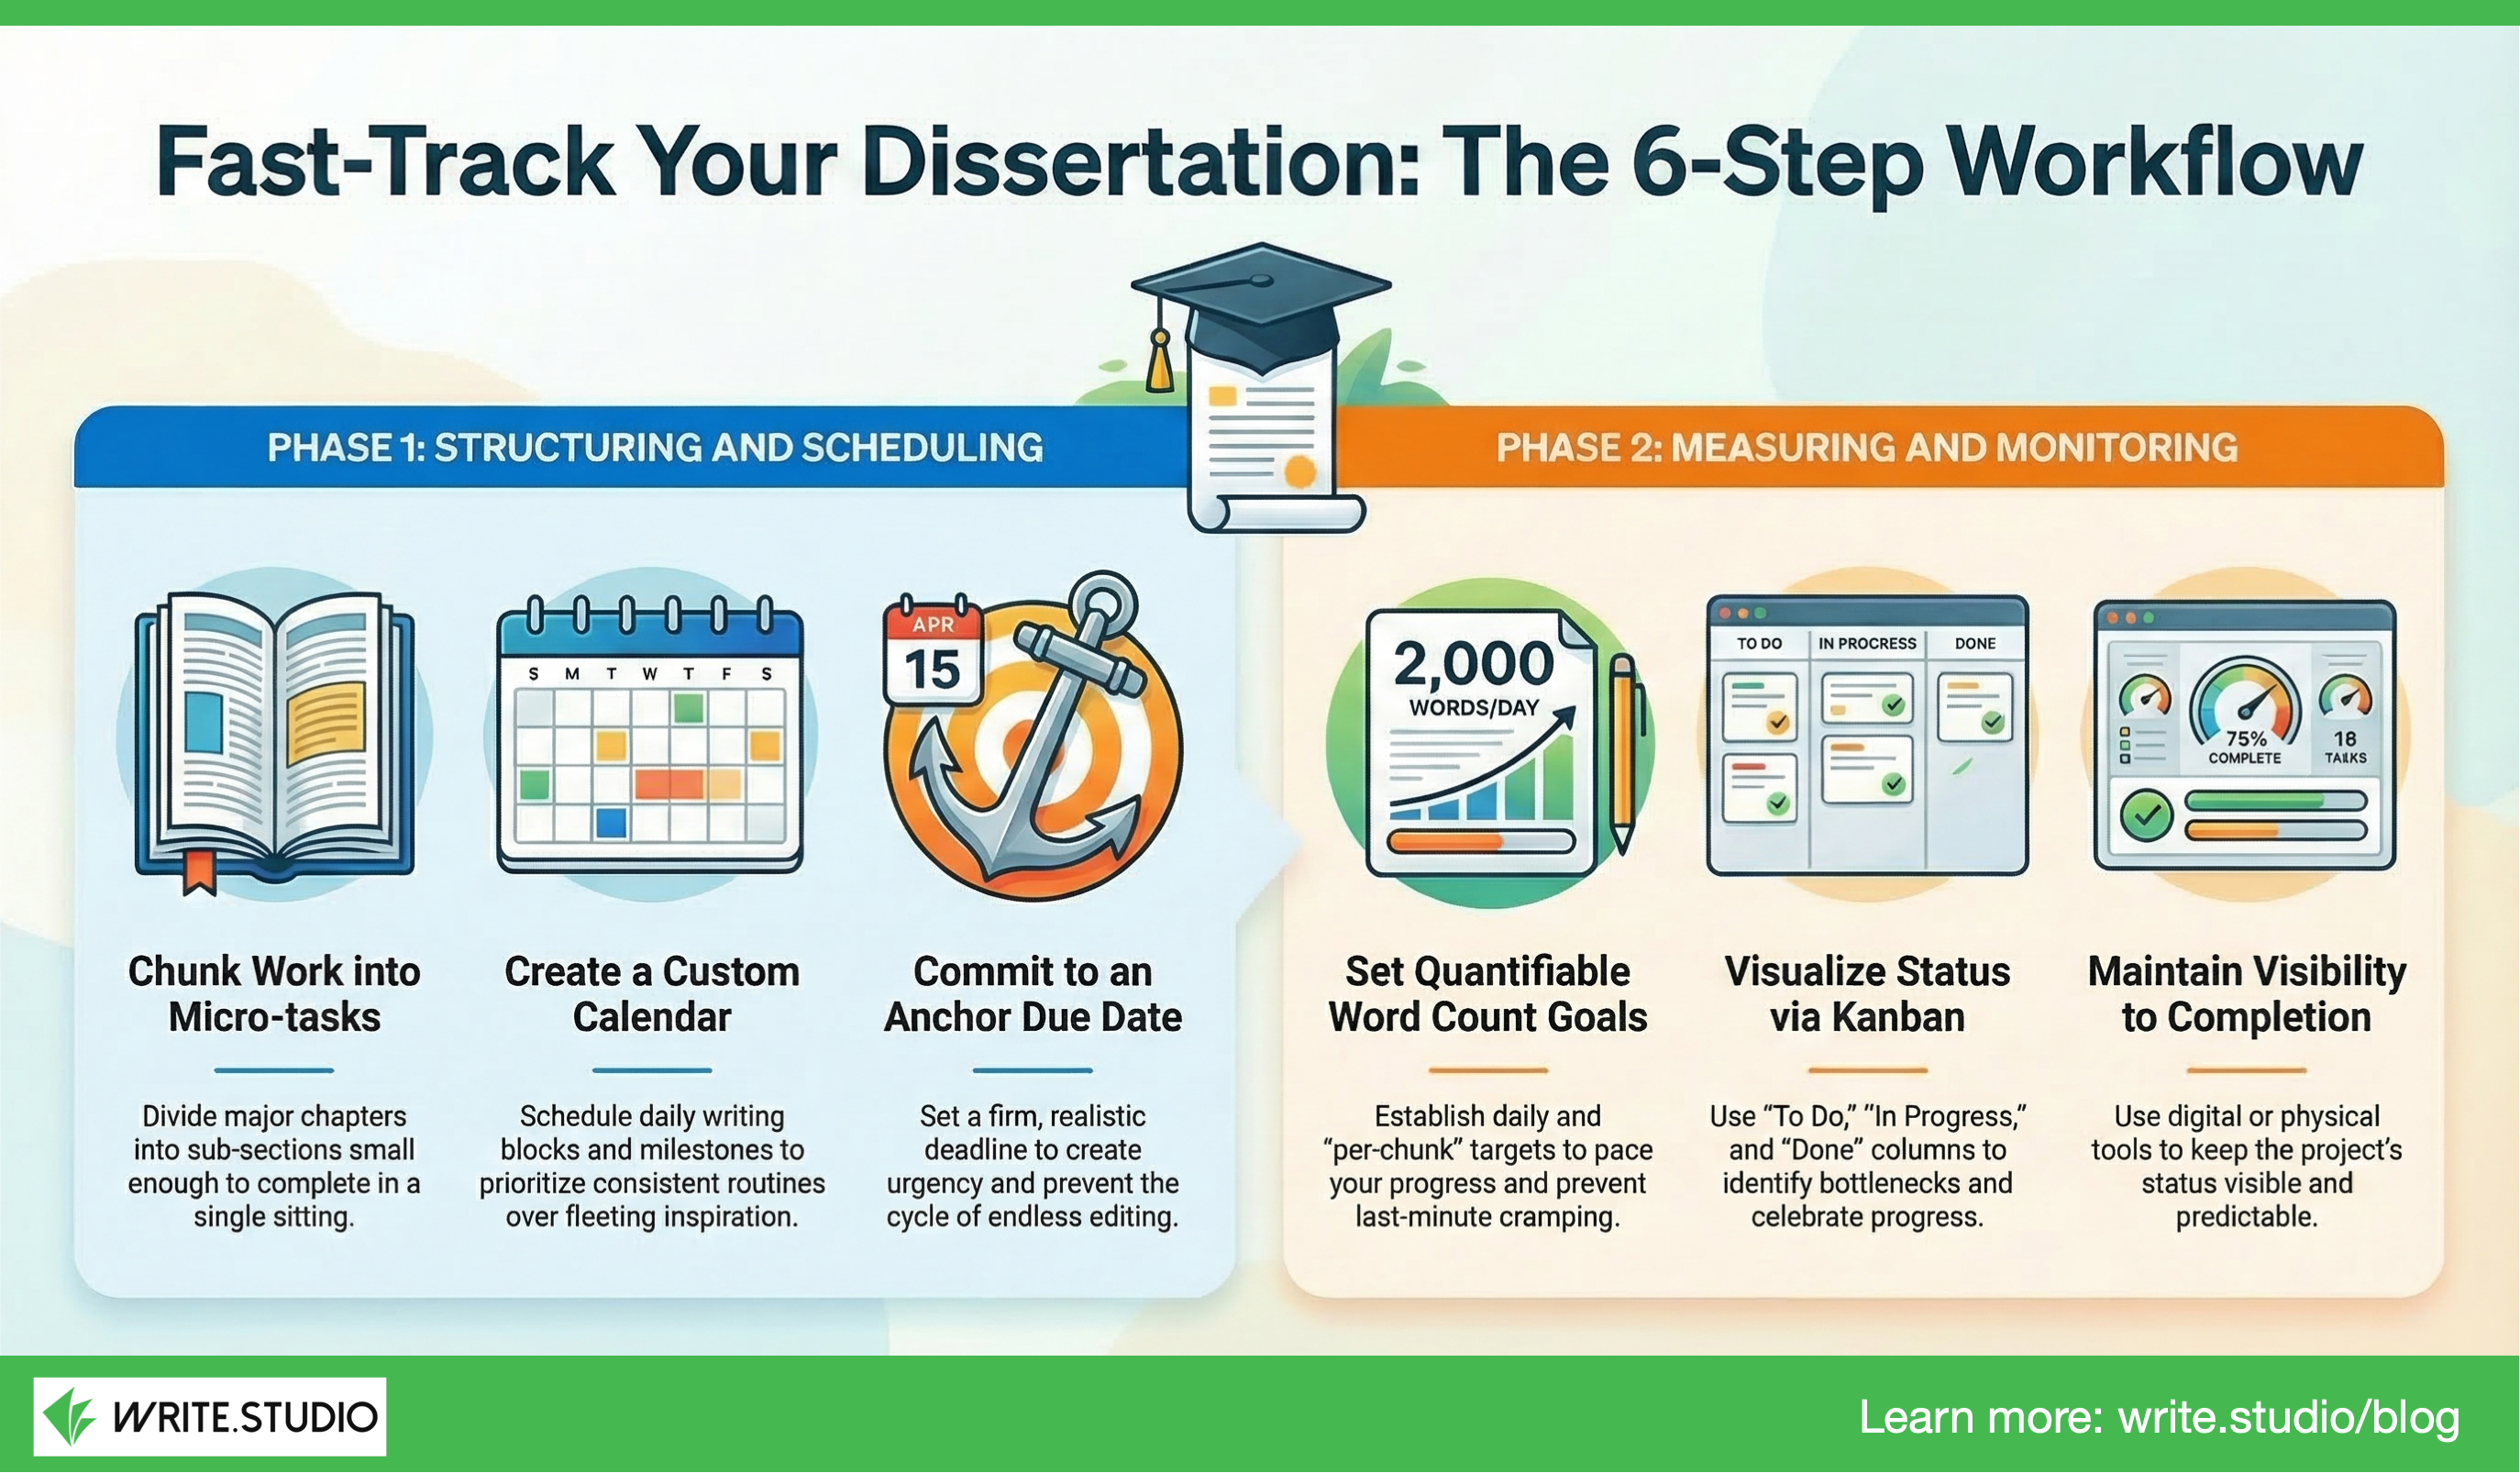
This 6-step workflow process works for any document but is very useful for long documents such as a report, thesis, or dissertation.
Download a template
- Navigate to Templates / public
- Find the template you need and click the download icon
- The template will be added to "My templates"
Step 1. Start a new document using a template already chunked into micro-tasks
- Navigate to "My templates"
- Find the template you need and click the + icon to create a new document from that template
- The "Quick start" menu will open:
- As you have already selected a template, this will automatically populate (check you have the right one)
- Enter your document name (it can be changed at any time)
- Add a target due date (it can be changed at any time)
- Add a target word count for the document (it can be changed at any time)
- Create a new custom calendar if the document is long and complex or select an existing one (it can be changed at any time)
- Click "Start", and your document will be generated with due dates and word count automatically added to every section
Step 2. Review the document "Outline" in the workflow list
- Click on the document name to open it and it will open in the editor
- Click on the "Workflow" icon
- Tap on any section or divider name to rename it (this can be done at any time)
- A divider is a grouping tool for sections (e.g., to collate sections into chapters)
- Use the More (...) icon to add new sections and/or dividers
- Tip: Do not number the dividers because you can change the order at any time; include a short descriptive label
- Tip: Use drag-and-drop to reorder sections and/or indent lower levels to create an outline of your document
Step 3. Review section "Due dates" in the calendar
- Click on the document name to open it and it will open in the editor
- Click on the "Calendar" icon
- Check that the document you wish to edit is checked and any other calendars are unchecked
- Drag section names around the calendar to reset the due date (this can be done at any time)
Step 3. Or, Review section "Due dates" in the workflow list
- Click on the document name to open it and it will open in the editor
- Click on the "Workflow" icon
- Tap on the calendar icon and change the due date (the calendar and due days will be updated)
Step 4. Review section "Word count" goals in the workflow list
- Click on the document name to open it and it will open in the editor
- Click on the "Workflow" icon
- Tap on the target icon and change the target word count (the progress % will be updated)
- Tip: It's recommended to set a goal of 500 words per day (it's a goal, and not fixed; its always good to over-deliver than under deliver; reflect your own writing rhythm)
Step 5. Visualize the document "Status" using the Kanban
- Click on the document name to open it and it will open in the editor
- Click on the "Status" icon
- Drag any section card from one column to the next
- From "Todo" to "Doing": when you start writing
- From "Doing" to "Review": when a draft or update is complete
- From "Review" to "Done": when a section is finalized
- If you need to go back a step, simply drag the card back to the correct column to indicate its current status
Step 6. Maintain visibility through to completion
- The "Workflow" list view, the "Status" and/or "Calendar" view are the most effective for maintaining momentum
- Do not lose sight of anything that needs to be done and/or corrected by adding "Todo" task inside each section
- Refrain from creating a seperate todo list not associated with a specific section as it can be easy to get lost of simply have too many lists to control
Tips
- It could tasks a couple of weeks until you settle on your working procedure. Taylor the procedure to fit your writing style and habits.
- Chunking work into micro-tasks enables you to complete sections and get a real sense of progress
- If a section turns out to be long, restructure it into micro-sections
See Also
- Adding a custom calendar
- Changing dates in the calendar
- Working with the status kanban